


Headless commerce is becoming an emerging technology trend among B2B and B2C brands. It's bringing them more flexibility, scalability, and faster web performance. Customers enjoy shopping experiences so much more and checkout processes become seamless.
So, what is headless commerce? What's all the hype? And should you care? If you're new to it, then this post is for you. Let's dive in.
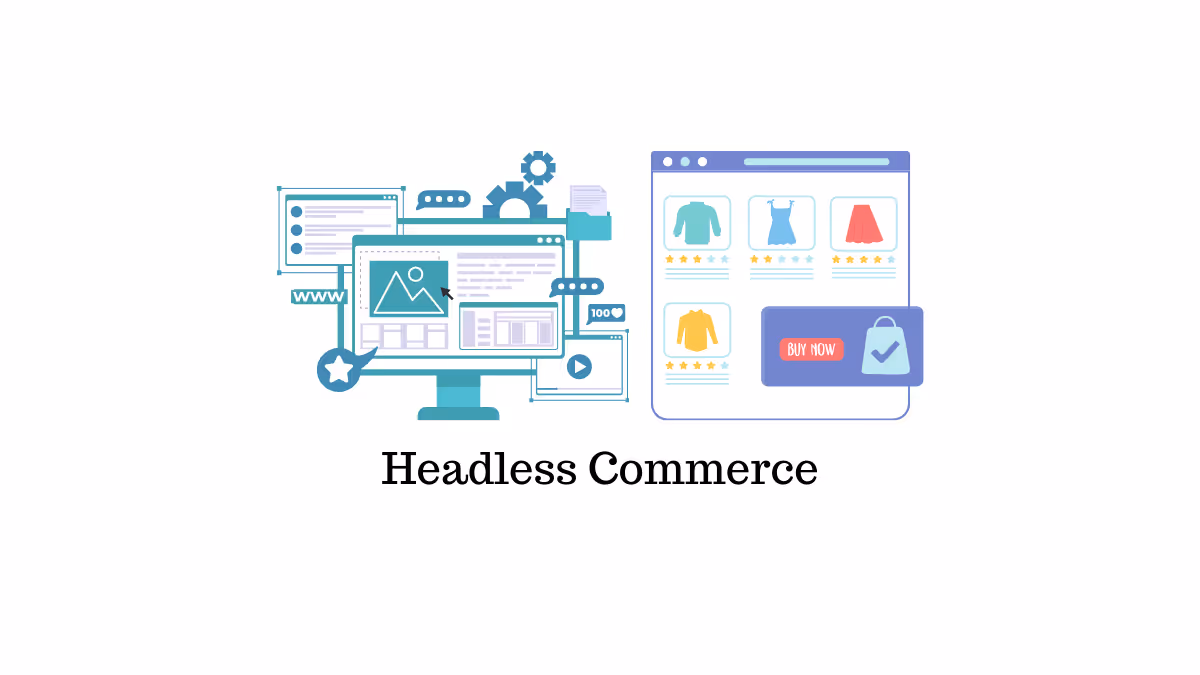
What is Headless Commerce?
Headless commerce separates the backend and front-end of your store. So, what does that mean? Your store's components operate independently. Any changes made to the backend won't affect the front-end and vice versa. Headless commerce architecture gives businesses the freedom to build what they want. They can express themselves freely and it's a great way to enrich customer experiences.
One great example of this is the use of APIs and experience managers. IT partners have used tools like Mulesoft and Heroku which have become critical components of companies' innovation strategies.
In a traditional e-commerce model, bringing new experiences to customers would require businesses to make updates to both front-end and back-end systems. Headless commerce foregoes all this.
Traditional E-Commerce vs Headless Commerce: Key DIfferences
Here are the key differences between traditional e-commerce vs headless commerce:
- Traditional monolithic commerce systems are known to display UI layers, manage and publish content via a single codebase, and contain all the components for handling business logic.
- Headless commerce separates units which each performs different functions and services. All these units talk to each other via APIs. For example, loyalty program widgets, search engines, payment gateways, CRMs, and analytics tools. A headless commerce business model also follows a microservices architecture.
- In terms of flexibility, headless commerce is more flexible than monolithic e-commerce. Its development speed is fast and headless can offer omnichannel experiences.
- There is plenty of room for customization and you can bundle third-party integrations.
- The time to market is also faster for headless commerce when compared to traditional e-commerce business models.
Benefits of Headless Commerce
Headless commerce transforms how businesses approach online selling by separating the front-end from back-end systems. This separation opens up a world of new possibilities for brands that want more than cookie-cutter solutions.
- Unlimited customization across touchpoints: You can build unique customer experiences without being constrained by predefined templates or themes. The decoupled architecture means your design team can create custom interfaces for every channel—whether it's your website, mobile app, or even voice assistants—without worrying about breaking backend functions.
- Lightning-fast performance that drives conversions: Headless architecture delivers 40-60% faster page load times compared to traditional platforms. This speed improvement directly translates to measurable results—companies typically see 15-25% improvement in conversion rates and 30% reduction in bounce rates within six months of implementation. Sub-second load times become the norm rather than the exception.
- True omnichannel experiences at scale: You can deliver consistent brand experiences across all customer touchpoints—from social media and mobile apps to in-store kiosks and smart devices. The API-driven approach means one backend can power multiple front-ends simultaneously, providing unified data across all channels without the complexity of managing separate systems.
- Rapid time-to-market for new features: Marketing teams gain independence to launch campaigns, test new designs, and implement changes without waiting for lengthy development cycles. You can respond to market trends and customer demands in real-time, often cutting development timelines by 40-50%.
- Future-proof scalability that grows with business: The modular nature of headless commerce means you can easily integrate new technologies as they emerge without overhauling your entire system. Whether it's AI-powered personalization, AR shopping experiences, or the next big technology trend, your headless setup can adapt without major disruptions.
- Enhanced personalization capabilities: With centralized customer data accessible across all touchpoints, you can deliver highly targeted experiences based on purchase history, browsing behavior, and preferences. This level of personalization drives deeper customer engagement and builds stronger brand loyalty.
- Developer freedom and efficiency: Your development team can work with their preferred tools and frameworks, leading to better solutions and faster innovation cycles. Frontend and backend teams can work independently, eliminating bottlenecks and accelerating project delivery.
What is the Cost of Headless Commerce?
The investment for headless commerce varies dramatically based on your specific needs, ranging from $5,000 for basic implementations to $100,000+ for enterprise-level solutions. While the upfront costs may seem higher than traditional platforms, the long-term benefits often justify the initial investment through improved performance, reduced maintenance costs, and increased revenue potential. The pricing structure differs fundamentally from monolithic platforms because you're essentially building a custom solution rather than adapting to predefined limitations. The complexity and initial costs shouldn't scare you away from considering headless commerce. Most headless solutions offer more attractive pricing models right from the start, and you can begin with a basic setup rather than paying for features you don't need.
- Subscription licenses typically cost 0.3% to 3% of your Gross Merchandise Volume (GMV)
- Frontend development ranges from $30-$65 per hour, with total project costs varying based on complexity
- Third-party integrations for payment processing, analytics, and other services add to the overall investment
- Infrastructure costs including hosting, CDN, and API management services require ongoing budget allocation
- Development team resources—whether in-house, freelance, or agency—represent the largest cost component
This modular approach means you only pay for the components your business actually needs. It makes headless commerce more cost-effective than traditional platforms that bundle unnecessary features together.
How Does Headless Commerce Impact Customers?
Here is how headless commerce impacts your customers:
Shopping Feels Smooth, Especially on Mobile
Have you ever noticed how some online stores just drag? Headless commerce helps fix that. Here’s what’s happening under the hood: because the front end (what you see) is separate from all the “heavy lifting” bits in the background, the site can load just the product images, menus, or reviews you’re looking at. So when you open a furniture site on your phone and it loads almost instantly, that’s probably a headless system doing its thing. No more tapping your foot waiting for the checkout page to appear—click “buy” and everything happens right away.
When brands switch to headless, they stop being stuck with slow, template-based sites. Instead, they build for speed—pushing out updates or fixing bugs quickly, often without even needing to refresh the whole page. The details you see (say, sale banners or available inventory) are always up to date because the front end “fetches” them right from the source, live.
Experiences and Matches Become More Relevant
Because stores with headless commerce have all your details in one spot, shopping feels a bit more like the barista remembering your order. After you buy a running watch, you might see training plans or accessory suggestions on the homepage—stuff that isn’t random, but tuned to your recent interests.
You don’t just get “people like you” recommendations, either. You see events near your city, reminders based on your last purchase, or even different payment options that match your shopping history. Developers can keep testing (quietly in the background), showing different people different layouts or offers—so the brand finds out what actually works best for their crowd.
It Fits Into Your Life—Not the Other Way Around
Headless setups let retailers sell wherever you actually spend time, not just on their main website. Want to buy shampoo via a voice command on Alexa in your kitchen? That’s headless at work: you can ask, check your last order, and have it shipped, all without opening your laptop.
Or maybe your local sneaker shop runs in-store kiosks. These are often powered by the same backend as their web store, so you get your loyalty points, custom recommendations, and an always-updated product lineup—whether you’re shopping from a touchscreen at the mall or through their mobile app.
Lesser Cart Abandonments = Happier Customers
Every click is tracked in real-time, so customers are less likely to hit annoying dead ends—like adding something sold out, or your payment not working halfway through. You’ll see accurate information every time. Faster processes and consistent design mean fewer hoops to jump through. You pick a product, place your order, and—thanks to smoother back-and-forth behind the scenes—it just works.
The bottom line: shopping with headless commerce in play means things feel fast, connected, and a bit smarter. You’re not bending to how the store works—the store is quietly shifting to fit you.
How to Get Started with Headless Commerce and Implement It
Here is how to get started with headless commerce, follow these steps below to successfully implement it for your business:
Step 1: Assess Whether Headless Commerce Is Right for Your Business
The first move is to decide if separating your storefront from your backend makes sense. Headless commerce trades a ready-made shop for a build-it-yourself approach. That can unlock freedom, but only if it fits your needs and resources.
Think about these points as your checklist:
- You’re comfortable leaving behind a pre-built, templated storefront in exchange for custom layouts and features.
- Your team includes developers who understand APIs and modern JavaScript frameworks—or you’re ready to work with an outside agency that does.
- You want your site to stay online and load fast, even when traffic spikes or plugins fail.
- You need features that standard plugins or themes can’t handle without heavy modification.
- You plan to update the look and feel of your site frequently, without risking backend stability.
- You’re aiming to sell on multiple channels—web, mobile app, social media shops, or in-store screens—and keep pricing and inventory in sync.
- Your catalog or pricing rules are complex, such as tiered pricing, custom bundles, or region-specific offers that off-the-shelf platforms struggle to support.
Step 2: Evaluate What’s Important to You in an eCommerce Platform
After you’ve confirmed headless is plausible, you need to pick a backend platform that meets your goals. Not all API-first systems are created equal, so focus on what matters most.
- Scalability and Customization: As your business grows, you don’t want to hit a ceiling. Look for platforms with reliable, high-performance APIs. They should let you automate store updates—like pushing new products or price changes—without extra coding every time. Check for built-in or one-click integrations that connect to common services so you can scale without hiring more developers.
- Omnichannel Capabilities: Your customers might shop on your website, through a mobile app, on Instagram, or at a kiosk in your store. Your platform should let you manage all these channels from one dashboard. That means centralizing product listings, pricing rules, and promotions so they apply everywhere at once. If you can’t easily push a sale live across all touchpoints with a single change, you’ll waste hours on manual updates.
- Ease of Use for Your Team and Security: Headless doesn’t mean complicated for non-technical users. The admin interface should allow marketing staff to update banners, modify text, and schedule promotions without calling the developers. At the same time, the underlying system needs robust security measures—data encryption, regular vulnerability patches, and clear compliance with privacy standards. A secure, user-friendly backend ensures your team can work quickly without putting customer data at risk.
Step 3: Plan Your Technology Stack
With your criteria in hand, it’s time to map out the tools that will power your headless setup. You need a backend, a frontend framework, and a content system. Choose each to match your team’s skills and your goals.
First, pick your backend ecommerce engine. These options have strong APIs and ecosystems:
- Shopify Plus: Quick start, built-in payments, limited deep customization.
- BigCommerce Enterprise: Flexible APIs, good mid-market support, moderate learning curve.
Next, settle on a frontend framework that fits your developers’ expertise:
- Next.js (React): Great for server-rendered pages, strong community support.
- Gatsby (React): Static-site generation for maximum speed, fewer real-time features.
Finally, choose how non-tech users will manage content:
- Strapi or Contentful: Headless CMS with simple editing interfaces.
- Sanity or Prismic: Real-time collaboration, strong developer APIs.
Step 4: Build a Minimal Viable Experience (MVE)
Don’t rebuild everything at once. Prove the concept with one live page. This helps you uncover integration quirks before full rollout.
Start by delivering a product detail page that:
- Fetches product name, description, price, and images via your backend API.
- Includes an “Add to Cart” button tied to your cart API.
- Shows live inventory levels and handles out-of-stock states.
Host this page on Vercel or Netlify so you can measure load times. Aim for under two seconds in desktop and mobile tests. Note any API rate limits or data mismatches.
Step 5: Roadmap Your Full Frontend Journey
Once your MVE works, draw a clear plan for the rest of your customer flows. Define each experience and the data it needs.
Core Paths to Map:
- Homepage: Featured products, promotional banners, dynamic content.
- Category Pages: Filters, sorting, pagination, and SEO meta tags.
- Cart & Checkout: Multi-step forms, payment integrations, error handling.
- Account Area: Order history, profile settings, password resets
Step 6: Organize Your Team and Timeline
Now that you know what you need to build, assemble the right people and set clear dates. Your core crew should include a front-end developer who writes customer-facing code, a back-end or integration specialist who connects APIs and secures data, and a DevOps engineer to manage hosting, deployments, and scaling. You’ll also want a project lead or product owner who translates business goals into technical tasks and keeps everyone aligned.
Start by mapping out your high-level phases:
- Planning & Design (Weeks 1–2): Finalize your technology choices and create wireframes or mockups for each key page. Meet with designers, developers, and stakeholders to review the end-to-end flow.
- Proof of Concept (Weeks 3–5): Build a single live page—typically a product detail view with “Add to Cart” functionality. Host it on your chosen platform and run early performance tests.
- Core Feature Buildout (Weeks 6–12): Develop the homepage, category listings, cart, and checkout. Tackle one path at a time. After each feature, push to a staging environment so your QA team can test.
- Testing & Performance Tuning (Weeks 13–15): Conduct load tests, measure page-speed scores, and fine-tune any sluggish API calls. Verify mobile responsiveness and run SEO validations like meta tags and sitemaps.
- Content Migration & Training (Weeks 16–17): Import existing products, images, and text. Train your marketing or content team to use the headless CMS for updates without developer help.
- Launch & Monitoring (Week 18): Go live and monitor real-time metrics. Watch for error spikes, slow endpoints, or broken user flows. Set up automatic alerts for critical failures.
Keep everyone on the same page with a shared calendar and regular standups. If any phase slips, adjust the next milestones but never skip testing or stakeholder reviews. Headless projects live or die by coordination and communication.
Step 7: Launch and Keep Improving
Pressing the “Publish” button is not the finish line—it’s the starting point. After launch, your focus shifts to stability, feedback, and continuous enhancements.
Begin with urgent checks: confirm that product data displays correctly under real user traffic, complete a handful of test orders, and verify that payment transactions succeed without hiccups. Monitor key performance indicators daily—page load times, API response times, conversion rates, and bounce rates.
Next, gather feedback. Ask real customers or internal users to walk through the new site. Note any confusion points in navigation, slow-loading images, or checkout friction. Schedule quick bug-fix sprints to address the highest-priority issues within 24 to 48 hours.
As your team gains confidence, plan iterative improvements in small batches. Maybe you roll out wish-list functionality in Week 3 post-launch, or add a promotional banner component in Week 5. Use your headless setup’s flexibility: deploy front-end changes without touching the backend, and vice versa.
Keep a close eye on your API usage and hosting costs. Set alerts for unexpected spikes that could indicate problems or drive up your bill. Regularly review your monitoring dashboards—tools like Sentry for error tracking and Google Analytics for user behavior will become critical allies.
Step 8: Ensure Smooth Content and Data Migration
Before you switch off your old store, plan how product details, customer accounts, and order histories will move to your new system. This often means exporting CSV files of products, customers, and past orders, then using scripts or migration tools to import them into your headless backend.
Take time to clean up your data as you go—fix missing SKUs, consolidate duplicate entries, and archive outdated products. If you skip this step, you’ll inherit messy data that causes customer support headaches and reporting errors down the line.
Finally, train your content editors on the new headless CMS interface. Walk them through creating and publishing a new page or updating a promotion. That way, your marketing team can work independently once the site is live.
Step 9: Monitor Performance and Reliability
A headless setup can deliver speed, but only if you keep an eye on it. Right after launch, focus on:
- API health: Track response times and error rates.
- Page speed: Measure real user performance (First Contentful Paint, Largest Contentful Paint).
- Error logs: Capture frontend and backend exceptions with tools like Sentry.
Set up alerts for slow or failing endpoints. If checkout API errors spike, your operations team can jump in before customers get stuck. Regular performance reviews every two weeks help you spot trends and plan optimizations before they become urgent issues.
Step 10: Iterate in Small Batches
When you’re ready to add new features—like wish lists, product bundling, or advanced search—treat each as its own mini-project. Release changes to a staging environment first, test with a handful of real users, then push to production.
This incremental approach keeps risks low. If a new feature breaks, it’s easier to roll back a single component than to tear down your entire storefront. Over time, these small, continuous improvements add up, making your headless site stronger and more capable without major overhaul projects.
Conclusion
We’ve listed various tools you can use to get started with headless commerce. You now also have a roadmap to getting started. Dial down your niche and get to work. If you are interested in moving your business forward in the digital world, headless commerce is definitely the way.
You don't need to build a storefront from scratch. Services like Alidrop's AI Shopify Store Builder can give you a headstart.
Headless Commerce FAQs
How do I handle payment failures or API downtimes gracefully?
Plan for partial outages by building fallback flows. If your payment API returns an error or times out, display a clear message guiding customers to try again or select an alternate method. Queue failed transactions on the backend and retry them automatically where secure. Monitor transaction logs for spikes in failures and set up real-time alerts. A transparent retry policy and prompt notifications maintain customer trust even when systems hiccup.
How can I train non-technical staff to manage a headless storefront effectively?
Provide hands-on workshops covering content creation, product uploads, and promotional campaign setup. Create simple guides showing how to preview changes in staging before publishing. Establish a feedback loop where editors report UI or workflow issues, letting developers refine interfaces and reduce reliance on code deployments for content updates.
How do I choose a good headless CMS?
Look for a CMS offering clear content modeling, version control, and workflow approvals. Ensure it integrates smoothly via API with your commerce backend so product data and marketing content stay in sync. Evaluate user roles, media handling, and preview capabilities so non-technical team members can publish updates without risking formatting or data errors.
How do I maintain search engine visibility after transitioning to headless?
Headless stores must handle SEO manually. Ensure pages render on the server or use dynamic rendering for bots. Generate and submit a complete sitemap. Implement meta tags and structured data in your template or rendering logic. Monitor crawl errors in Google Search Console and configure robots.txt properly. Keep an eye on Core Web Vitals metrics after launch to catch any speed regressions that might affect rankings.


%201.svg)